Wednesday 12 December 2012

My Other Coursework

Other than the bulding extension, I also had to do a 10 second advert.  Since my film trailer was a bit dark and eery, I decided to do something a bit light hearted and cheesy - what I ended up wiht was an advert for a ficitional toilet plunger brand called Plunger Perfect and a brand mascot called Peter Plunger.

You can see the final advert (and my brilliant double-take) here:
https://vimeo.com/55182943
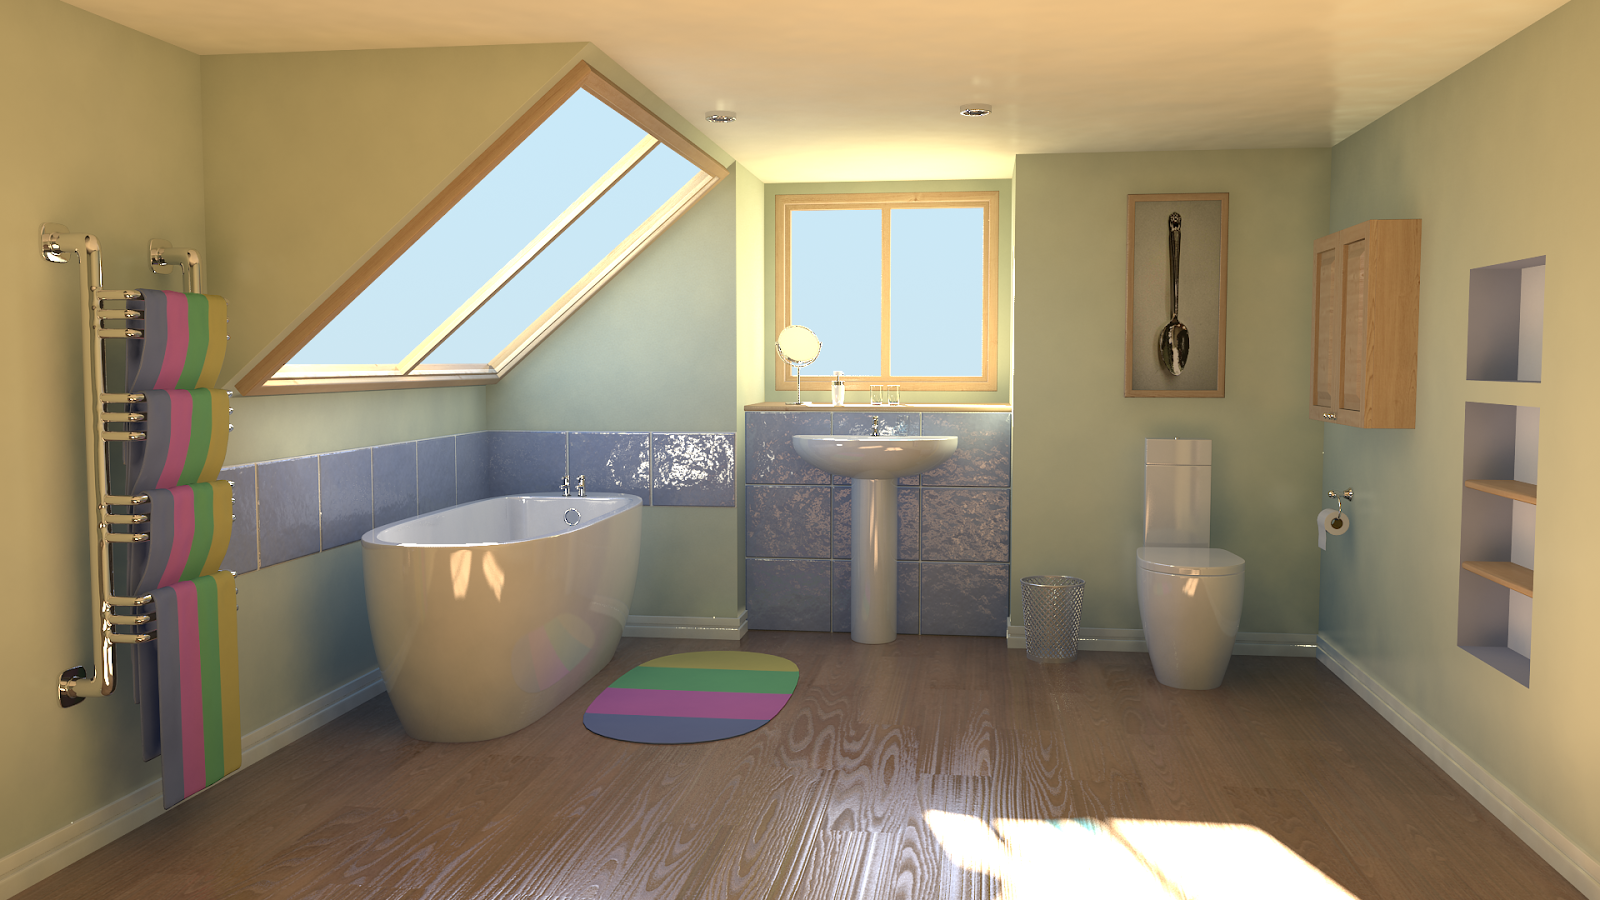
Here are some rendered stills from my video

and the character

and a screenshot of my character
 

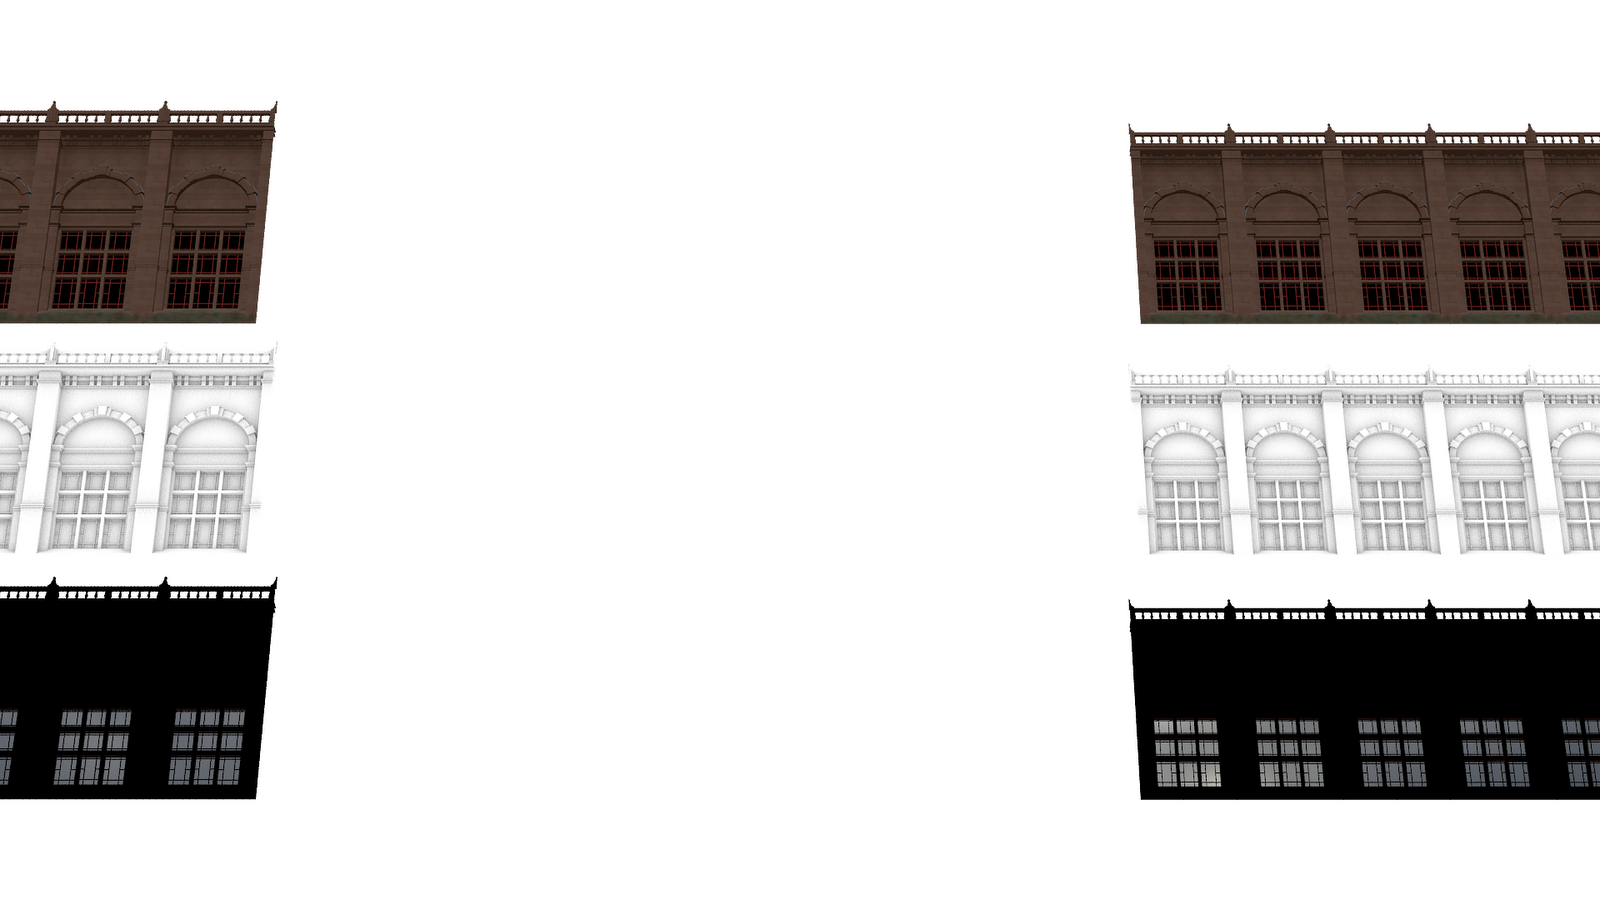
Just as with the st extension, everything was rendered out originally as 32-bit floating point OpenEXR's.  This meant that I had to turn of mr Photographic Exposure Control, set the frame buffer to 32-bit and turn the input and output bitmap gamma settings to 1.0...  Unfortunately I forgot to set the input gamma to 1.0 from its default of 2.2, but I noticed that the bitmaps weren't the colour that they should be in my material editor, so I add a Color Correction texutre node and adjusted the gamma that way - so it was a bit of extra work, but I'll now remember to set the bitmap input gamma to 1.0.
 
 
The character's rig is my first attempt at creating a custom rig from Max's Bones, other rigs I've done before have been with CAT.  Cat has some fairly well documented bugs and they always seem to appear when you least want them to, by creating my own custom rig I knew that it was going to be stable and give me all the control that I wanted.
 
I textured my character in a combination of Mudbox and Photoshop; first off I'd lay down some base colours in Mudbox and then use Photoshop Mixer Brush Tool to give it that hand smudge look which I like.
 
As for the bathroom itself, I experimented with a cloth simulation for the towels and I had hoped to add Hair & Fur to them but it took a very long time to render and it also gave me some strang shadows which I really didn't like the look of.  But, that's something for me to work on over Christmas.

Film Trailer (Which Includes Building Extension)

If you've read the posts about my building extensions then you might like to see the finished video - actually there's two videos which are just variations of each other.

Here they are:
https://vimeo.com/54772526
and
https://vimeo.com/55178434

The sounds were all sourced from http://www.freesound.org.

Sunday 2 December 2012

Building Extension Composition

To follow on from the previous post, I applied all my textures in my 3ds max scene and rendered out a 32-bit OpenEXR image with an output gamma of 1.0.

OpenEXR's are really good if you want to do any further compositing because all of your render elements are stored in just one files, so it makes file management a lot easier and because they're 32-bit floating point images it means that you can accurately adjust your exposure, gamma and offset in an application like Photoshop of After Effects without getting areas which are completely blown out or getting image stepping - this is in part due to the fact that float point images by their nature have far more values than the standard 8-bit JPEG or PNG so you can be more aggressive with your filters or image adjustments and still get good results.  Finally, if OpenEXR's are good enough for ILM to use, I'm sure they're good enough for me to use.

I set the output gamma to 1.0 so that any compositing I'd do would be more accurate, this is because my images are coming out of 3ds max with linear gamma (1.0) meaning that they haven't had any gamma correction already applied to them (say, 2.2 which is the default in 3ds max) so using layer blend modes like Multiply and Add will give better results.

Although I really liked the results I was getting with QuickSilver, I needed fine control over such elements as ambient occlusion and reflections in post-production so I opted to go with mental ray and render out these elements along with a series of Mattes so I could reduce their opactiy and hue and sturation and add colour filters and gamma adjustments.  Rendering out Matte passes is much more useful than rendering out and Object ID pass - although it can take longer to setup the Matte passes have the same anti-aliasing as the actual images, so when you apply them as mask they work perfectly without giving any unsightly jagged edges which is typically what you get when using an Object ID or Material ID pass.

I lit my scene with a single Skylight; I was fortunate that when I recorded the video that the CG elements will be placed in, it was a very overcast day with direct light - perfect conditions for applying the Skylight.  In my Skylight I applied an HDR image into the environment slot to give me image-based lighting, I also placed this image into the environment map slot of the Environment and Effects window to take care of the reflections.

Here are a few combined images of my colour and matte passes.


I combined these images firstly in Photoshop but then realised that I wanted to make further changes to them in my After Effects composition I'd have to rework and resave the Photoshop image which could be time consuming if I had to do it multiple time.  So I redid the image composition in After Effects so that it was quicker to adjust.

Here are two final images, the first one has been colour corrected, blur and grain-matched to blend it with the live footage, the second image has additional filter which were applied to my entire composition including the live action footage.


I'll post a link to the final animation and make another post about the other course work I've done.