Thursday, 26 January 2012

Character modelling brief

For the Character modelling brief we had to come up with one organic and one non-organic model and animate them interact them in some way.  I chose to create an overweight man trying to figure out how to work a treadmill and inadvertently making the treadmill incline and go very fast thus causing him to be throw off the end.  Initially I had planned to do a more elaborate scene with many other accidents with gym equipment, however, luckily for my character, time restrictions meant that I had to limit it to just the treadmill.  It was the first time that I had used Mudbox to add facial detail to a character and used Mudbox's 3D painting capabilities, I also used 3ds Max's Freeform tools found on the Ribbon toolbar for retopology - another first.  from the outset I had planned to use Max's new hardware renderer QuickSilver after a success first test (http://vimeo.com/34221567), however using QS for interior scene which require indirect illuination gives very poor results which is shame because that twas the only aspect which I found that it fell far short of mental ray.  To rig my character, I used CAT - another first - and although it gives you the ability to create fairly complex rigs quickly, I found that there were a few bugs in the system which need to be sorted before it can be a serious alternative to Character Studio's older Biped system, for instance when I rotated my characters pelvis backwards the leg bones would skew slightly which, after skinning, lead to knee buckling.  Below are some development images


I tried to upload the stress test video I mentioned earlier, but it didn't work.  I'll try to upload it at a later date.

Rendered results from the 1 week brief

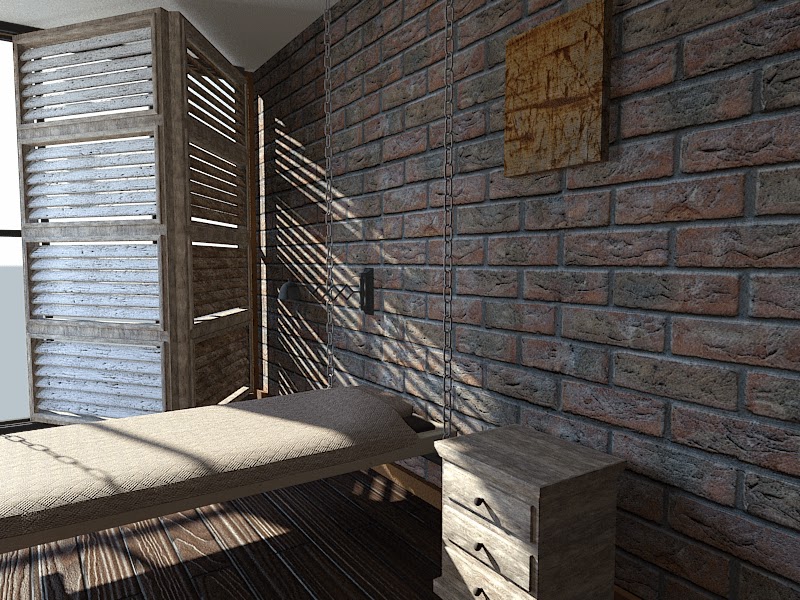
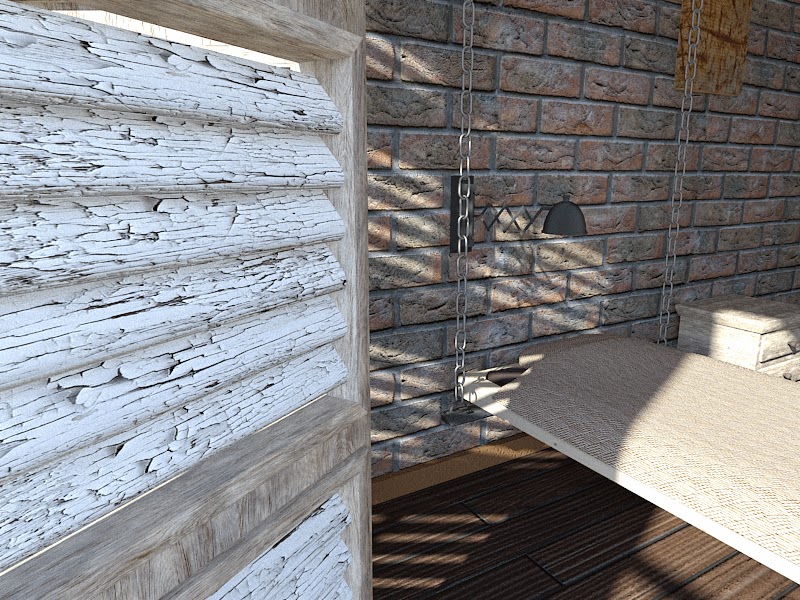
Before Christmas we had a one week surprise breif which was to create a design concept for a hotel room, I came up with a slightly...  Different idea from the other members of my class - I went to the college library and looked through several months of the World of Interiors magazine to see what was currently fashionable and based on that I came up with the idea of creating a loft space-like room with a lot of renuable materials and objects.  It was good fun, but a lot of hard work to get the renders done on time - I wanted to keep the polygon count to a minimum so instead of using subdivision modifiers such as MeshSmooth or TurboSmooth I opted to use Chamfering and smoothing groups which I hadn't used before.  I the end the scene was around 80,000 polygons with detail in the corridor outside the room which you can't see in the images.


Monday, 23 January 2012

Rendered stills from the first two briefs

I've been meaning to upload the images from the first two briefs a while now and have finally got round to doing it.  I felt the first two briefs were challenging because it's the first class I've ever taken in 3D and I wasn't used to having to complete scenes to deadlines, what made it more difficult was that both briefs were given to use at the same time and from concept to completion, we had six weeks to complete both.

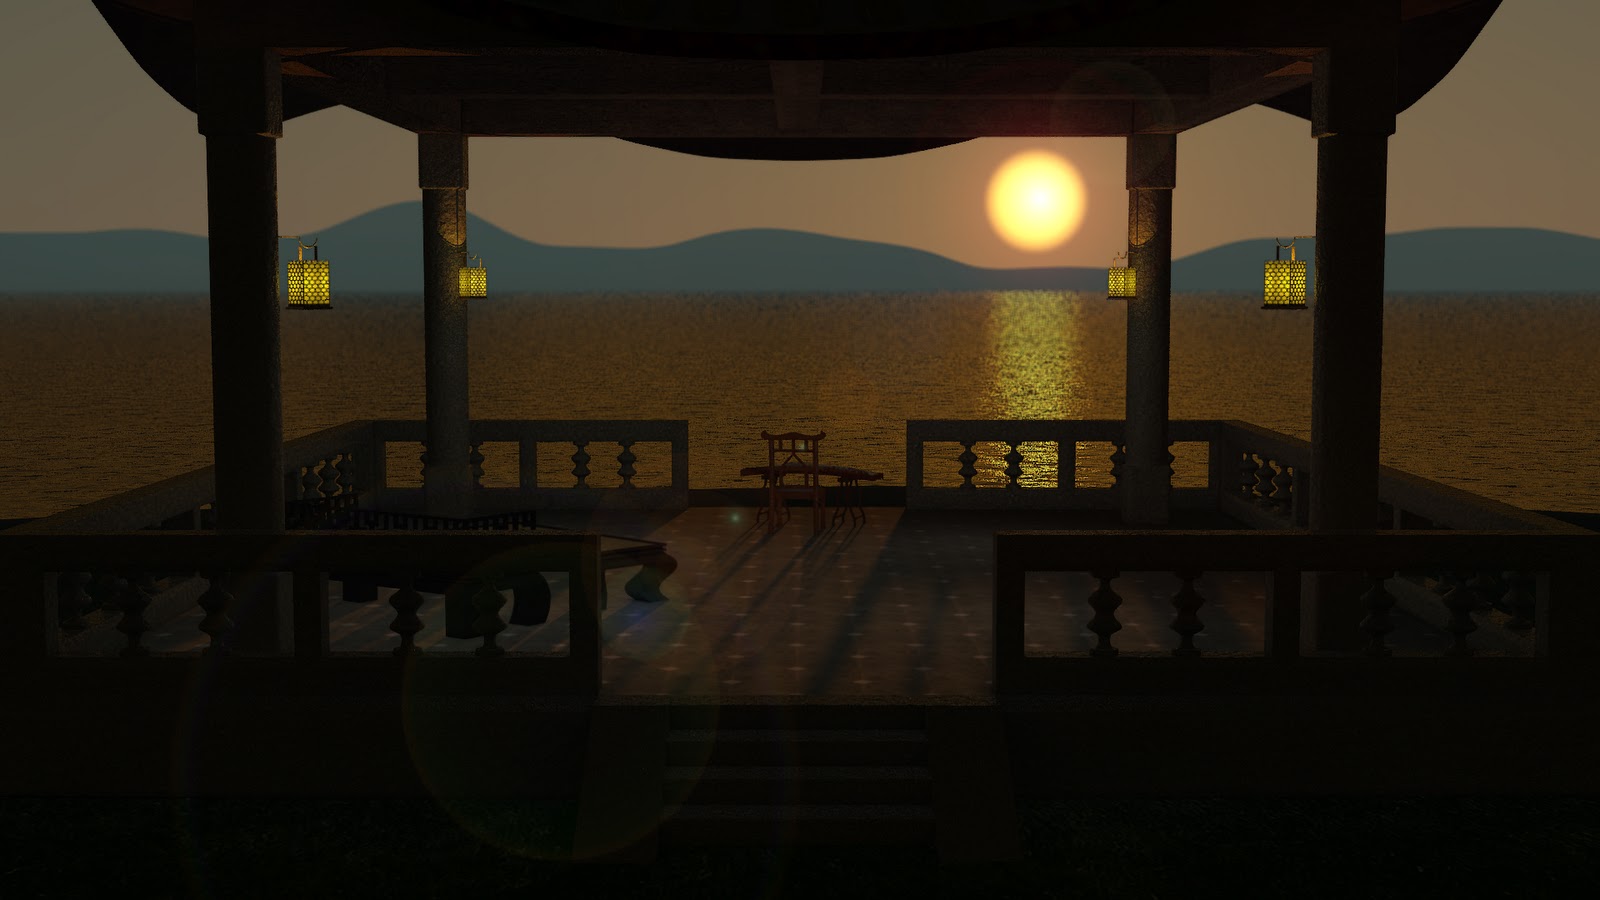
The first brief was environmental modelling - we had to design a 3D environment and we given the following choices to base our scene around: futuristic, historical, industrial, natural or luxurious.  After some consideration I ended up choosing to model a Chinese lakeside pavillion scene which incorporated elements of history, nature and luxury.  I chose to use 3ds Max to do the scene, extensively using the knew Substance textures included in the 2012 edition, along with creating my own materials (the green stone) from procedural maps and using textures sourced from CGTexture.com.  A single 1080p frame took approximately 23 minutes to render.


The second brief was interior modelling and we had to design a table scene for a film or stage production.  It was a very open brief which I liked and I knew early on that I wanted to create a Western bar scene because of the rich history around Western films, the characters in them and the fact that the bar scene is often significant in the film.  I chose to use Maya to complete this brief which I had never used before and at times found difficult to use: the absences of layers when modelling was frustrating early on (even though Maya has History, I didn't find it as intuitive), initially I found UV mapping difficult, however I quickly learned how to use Maya's powerful Unwrap feature which, although I like, isn't as good as Max's Pelt mapping.  The biggest challenge was using Hypershade, specifically connecting nodes to the correct channel in a material is very unintuitive (but this will be solved with the release of Maya 2013), an example of this was with my lighting, I used a daylight system as my primary light source which gave me good results, but I could only adjust the exposure and gain on the default camera because I was unable to connect the exposure node to cameras in my scene correctly (definately something I'll have to learn how to do!).  A single 720p frame took 2 hours and 15 minutes to render...  And I have a powerful computer... (only the first three renders are 720p, the others are at a lower resolution of 850 x 400).


Tuesday, 13 December 2011

Test Render - Daylight Lighting

First test render, only the Daylight system is illuminating the objects which have a neutral grey material with no specularity applied, so that only the diffuse colour is shown on the surface.

Wednesday, 23 November 2011

New brief - character modeling

We were told about the new brief this morning; we have 8 weeks (excluding the Christmas break) to model, rig, UV, texture, light, animate and render an environment with an organic character and an inorganic character which have to interact with each other.  There doesn't seem to be many constraints as to what the characters have to be or what environment they have to be in which is good, but some times having so much choice can prolong making a final decision.  My first thoughts were to focus on a squash and stretch cartoon character, but I'm unsure of the setting and what the inorganic character should be.

Cinema scene render

I've got my scene finished and my camera and lights are animated, now I need to render it out - seeing as how a single frame took around 17 minutes at 320x240 resolution and poor settings it might be a task for the college's new renderfarm...

Tuesday, 22 November 2011

Cinema nearing completion

Finally nearing the end of my 3ds Max cinema scene.  It's been difficult in parts such as having no idea what to set my exposure to and not knowing what the whitepoint should be for my photometric lights - and the combination of these two things meant that the colour and intensity of my lights took a lot of test renders to get right which took up a lot of time.  There were many things I enjoyed about this brief; like  using Mudbox on a project for the first time, which I used to bake out normal maps for the seats in the cinema (which you can't even see in the darkness!), I also used a Arch & Design transluency material for the first time (light above the fire escape) and got more practice using the fantastic nDo2 normal map generator plugin for Photoshop.

I'll try to upload some final renders soon.

-Harry